Although I initially started writing this site in PHP, I grew bored and realised that what may seem simple and elegant in your head never ends that way when you started coding. Therefore, I stopped and re-analysed what I wanted to do: I wanted to display posts in a template that I had created; no clutter that comes with an off-the-shelf platform like WordPress.
I’d recently moved my site to Heroku. Because of this, I realised I was not limited to a particular stack.
Enter: Jekyll.
Jekyll is a static site generator written in Ruby. I had heard good things about it from developers such as Harry Roberts and Jack Franklin. As a keen GitHub user, I knew GitHub Pages used Jekyll in the background too—not surprising since the author of Jekyll is a GitHub co-founder!
Getting started
Install Ruby
So, to get started with Jekyll we need Ruby installed on our machine. Mac OS X comes with Ruby pre-installed but if you need to install Ruby on your machine, check out the downloads page on the Ruby website: www.ruby-lang.org/en/downloads/.
Install gems
Next you need to install the Jekyll “gem”. A gem is package in Ruby parlance, and Jekyll is merely just a Ruby package. Install it with the following command in your command line app:
$ gem install jekyll
Setup the directory structure
With Ruby and the Jekyll gem installed, we can then setup the directory structure required for Jekyll:
_layouts/
    default.html
_posts/
    2013-04-24-hello-world.md
_config.yml
index.html
Just create blank files for the files above.
Create a default layout
Layouts in Jekyll are just plain old HTML, with a couple of delimiters in to render the page’s title and content:
<!DOCTYPE html>
<html lang="en">
  <head>
    <meta charset="UTF-8" />
    <title>{{ page.title }}</title>
  </head>
  <body>
    {{ content }}
  </body>
</html>
Listing posts
So far, nice and simple. Next step is to create your home page which will display a list of posts:
---
layout: default
title: My Home Page
---

<h1>Latest posts</h1>
<div class="hfeed">

  {% for post in site.posts %}
    <article class="hentry entry">
      <h1 class="entry-title">
        <a href="{{ post.url }}" rel="bookmark">{{ post.title }}</a>
      </h1>
      <p>Posted on <time class="published" datetime="{{ post.date | date_to_xmlschema }}">{{ post.date }}</time></p>
    </article>
  {% endfor %}

</div>
You’ll notice at the top of index.html are some properties delimited by three dashes (---).
This is what’s called YAML Front Matter and is basically meta data for your page.
In the above example, we’re setting which layout to use (default, which will make Jekyll use _layouts/default.html to render the page) and a title for the page.
Creating the initial post
Finally, add some content to your initial post. Open _posts/2013-04-24-hello-world.md and add the following:
---
layout: default
title: Hello, World
---
# Hello, World

Lorem ipsum dolor sit amet, consectetur adipisicing elit, sed do eiusmod tempor incididunt ut labore et dolore magna aliqua. Ut enim ad minim veniam, quis nostrud exercitation ullamco laboris nisi ut aliquip ex ea commodo consequat. Duis aute irure dolor in reprehenderit in voluptate velit esse cillum dolore eu fugiat nulla pariatur. Excepteur sint occaecat cupidatat non proident, sunt in culpa qui officia deserunt mollit anim id est laborum.
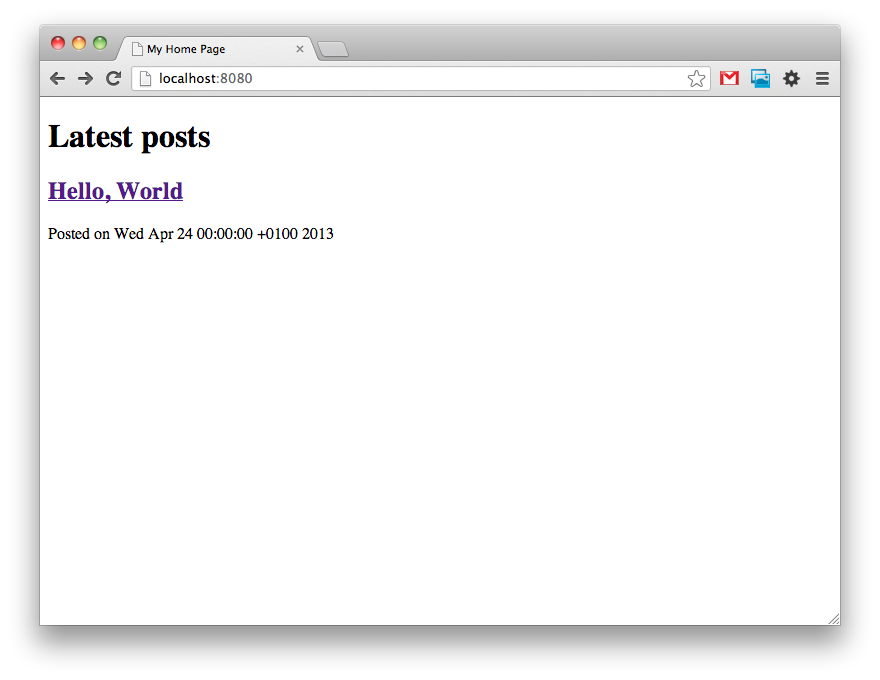
Check the site works
So what now? Well, you should now have a basic website that can be generated by Jekyll. To test, run the following command:
$ jekyll serve
This will generate your site, and allow you to view it at localhost:4000. Run the command and give it a shot.
Going forward
So there you go, you now have a website powered by Jekyll! The next steps could be any of the following:
- Look at the configuration options available for use in _config.yml
- Start fleshing out the default layout
- Do the same with your home page
- Add some styling
- Add more posts
- Deploy to GitHub Pages
A good resource for getting started with Jekyll is Jekyll Bootstrap.